


In theory these ideas and tips are great for any kind of portraits. I single out Senior Portraits because they often include A LOT of up close, detailed shots and a wide variety of outfits. As some of you may have read in my other senior tip posts: “One of the biggest challenges is keeping your hair, make-up, and nails relevant throughout the whole shoot.” Seniors have various outfits and styles they are transitioning between in a short amount of time, so its important to make sure their time-consuming details are very versatile. This post is focusing on nails. While I mostly gear this towards our young ladies, Gentlemen I have a few nail tips posted right here at the top for you too!
YOUNG MEN
If you can’t bring yourself to go to a salon, be sure to get these 4 tips done yourself!
1. Wash and scrub any dirt from your hands and under your nails. This will also help remove any dry or dead skin. 2. Trim and file your nails so they are not too long or jagged. 3. Cut back cuticles and any hangnails around your nail. 4. Use just a bit of lotion each day right before your shoot. Cracked, dry skin does not photograph well! 5. Repeat steps 1-4 for your feet and toenails if you plan to be barefoot or wear sandals.
NO PAINT - LADIES
Ladies, of course you also have the option to not paint your nails as well. For those who choose to skip paint, your process will be generally similar to the gentlemen.
1. Clean under and around your nails. 2. Trim and file them to a length and shape you are happy with. 3. Remove cuticles and hangnails. 4. Buff the tops of your nails so they are smooth and shiny. 5. Add a coat of clear polish to give them extra shine and protect them. (Optional) 6. Repeat steps 1-5 for your toenails for any barefoot or sandal shots.
____________
GENERAL TIPS FOR PAINTING YOUR NAILS
1. My best general tip is summed up in three words: SIMPLE and NEUTRAL. Your nails shouldn’t over power your photo by being to wild. They should also be able to match a variety of outfits and styles.
2. Secondly, paint not only your fingernails but also your toenails. Keep the polish consistent or complimentary between the two. You will likely end up barefoot or even wearing sandals in some of your photos.
3. For those doing it themselves, be sure to practice what you’d like to do a couple times before the shoot. If you don’t feel confident in doing your nails properly, consider visiting a salon or even having a friend help you.
That all being said, let’s jump right in to some painting ideas for your big photo op.
SOLID NEUTRALS
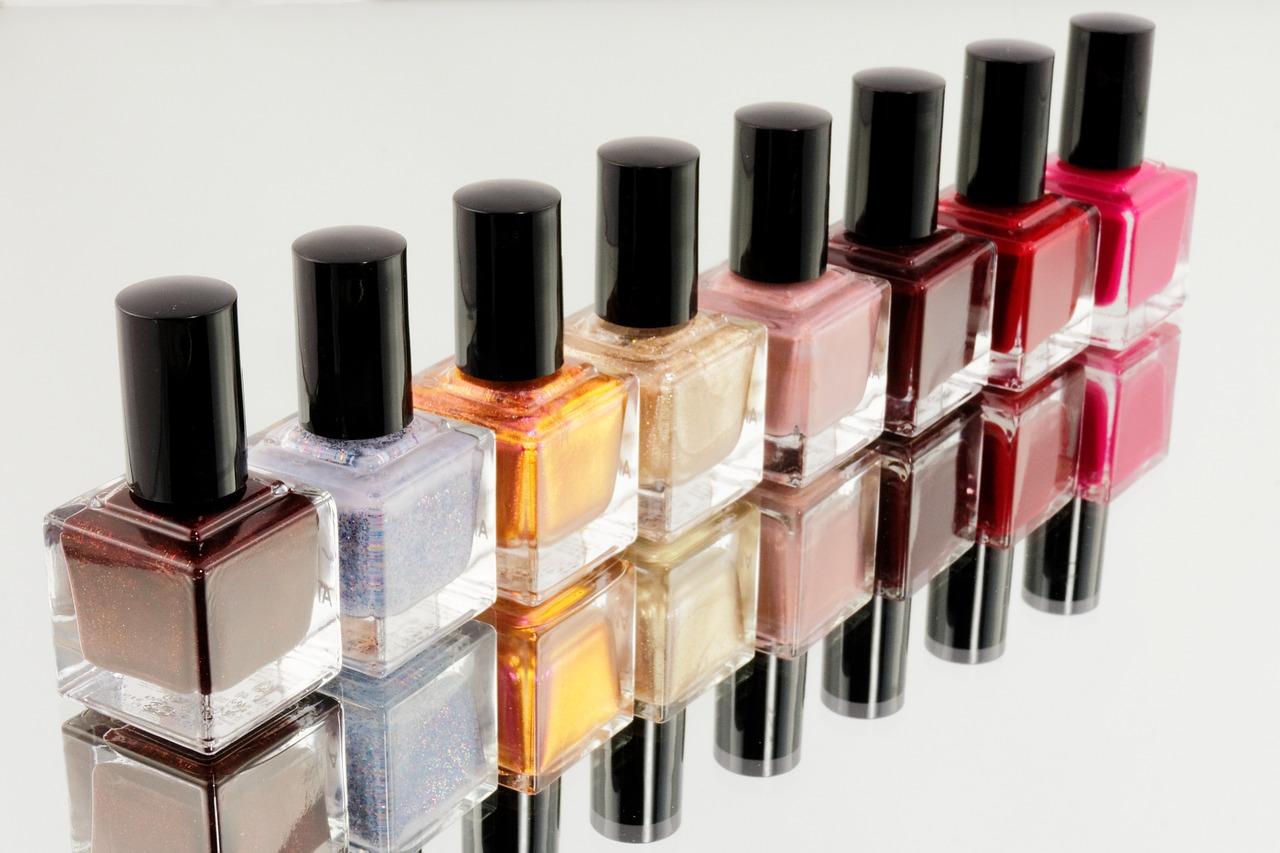
The first obvious choice is a solid, neutral color. This is an easy one that can be done at home if you want to skip the salon. Now-a-days neutrals are very wide spread, so it doesn’t have to be boring. One of my favorites is the “gray” family, because gray can carry subtle undertones of color. Allowing your polish to be neutral while still grabbing some of the colors you may have in your outfits (See example below.) Other neutrals may include black, brownnude, a true gray, or even navy!

FRENCH TIPS
French tips are probably my all time favorite, because they are elegant and classic. They will compliment any style outfit from casual to formal. While a true french tip is solid white, two variation of this classic look may be to add sparkle or substitute black for the white (As pictured below.)


COLORED FRENCH TIPS
Some of you probably had your hearts sink when my first tip was a neutral color. So for those who can’t hack neutrals, this may be a better alternative to a full-nail, bold color. French tips by nature are classy, so a color french tip may satisfy your need to “pop,” while still keeping a subtle look that won’t over power your photos. Consider mixing just a little color in with a simple french tip design, like what’s pictured in image 3 below.


NAIL ART DESIGNS AND PATTERNS
This can be a fun way to play with neutrals (and maybe a bit of color.) However, I strongly suggest clients are very careful with this option. Designs can quickly get too wild and take away from your up close shots. Here are a few ideas you may consider for a fun, controlled look.


OMBRE NAILS
The final suggestion for painting is the perfectly, simple ombre. This style is based on 2-3 colors varying from light - dark and typically include a neutral. Therefore, it can be a simple, trendy design that doesn’t get carried away. Just remember to keep it neutral or keep it simple. Here are a few ombre’s I love:


_________
Good luck and I look forward to seeing what clients come up with. ? Thank you all for reading and be sure to leave any questions or comments in this post’s comment section! Follow me here on WordPress by blog or email, plus, catch me on Facebook by giving the {Noel Photography and Design} page a LIKE.
Happy Creating! Noel
